
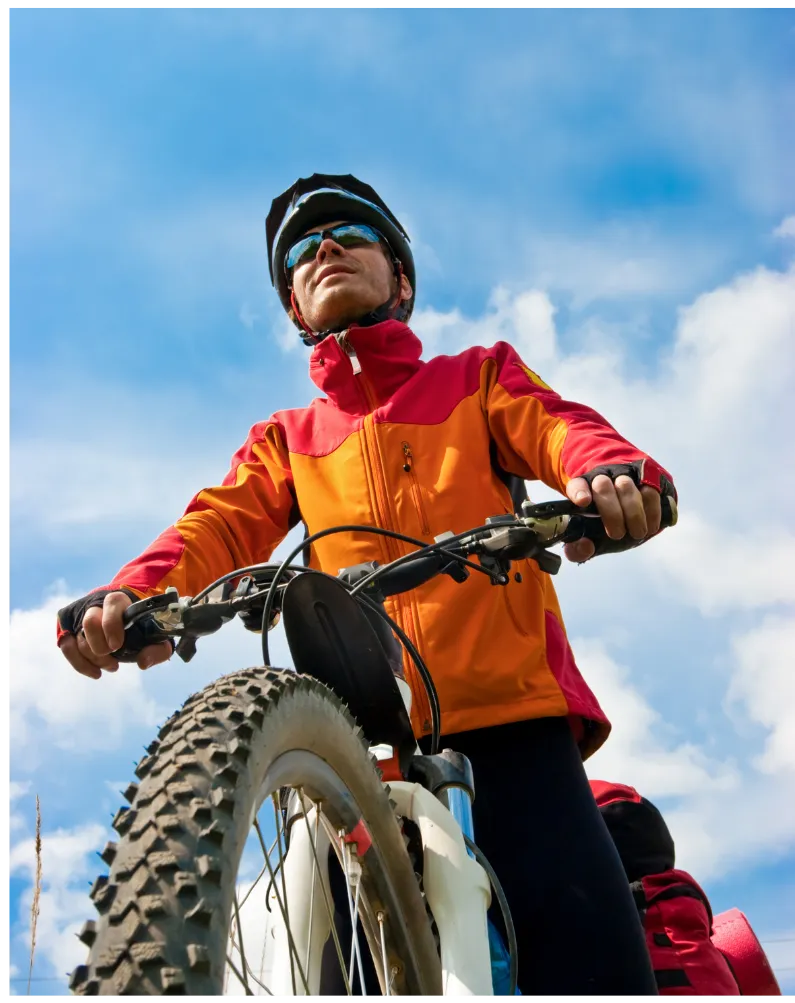
Trusted by Cyclists Worldwide Since 2008
From first charity rides to national championships, Human Vortex Training has helped cyclists over 40 and 50 ride stronger, recover faster, and stay pain-free. With proven strength training and smarter coaching, you’ll get the results that endless miles alone can’t deliver. Start with your free 7-day trial and see the difference.
STRUGGLING WITH RESULTS?
Traditional strength training isn’t built for cyclists and triathletes.
At HVT, we combine 25+ years of experience in strength, performance, and endurance coaching to design programs that fit your sport — and deliver results where they matter most: on the bike and in competition.
1
BOOK YOUR INTRO
CALL
We’ll talk about your training history, goals, and challenges.
2
GET A CUSTOM PROGRAM
Tailored to your sport, schedule, and current level of fitness.
3
SEE RESULTS ON THE ROAD OR COURSE
We’ll talk about your training history, goals, and challenges.
At Human Vortex Training, we specialize in helping cyclists and triathletes gain strength that transfers directly into their sport. With 25+ years in performance coaching, our athletes consistently:
Ride stronger and race faster
Prevent injuries and recover quicker
Build confidence and longevity in their sport
SUCCESS STORIES
★★★★★
Joshua Spokes – Cyclist
"In just two years I went from stuck at Cat 4 to major gains in strength and performance. Brodie supported me every step of the way—physically and mentally."
★★★★★
Jim B. – Senior Games Competitor
"In just four months, HVT turned me from a novice into a competitive cyclist. I owe my once-in-a-lifetime race experience to their coaching."
★★★★★
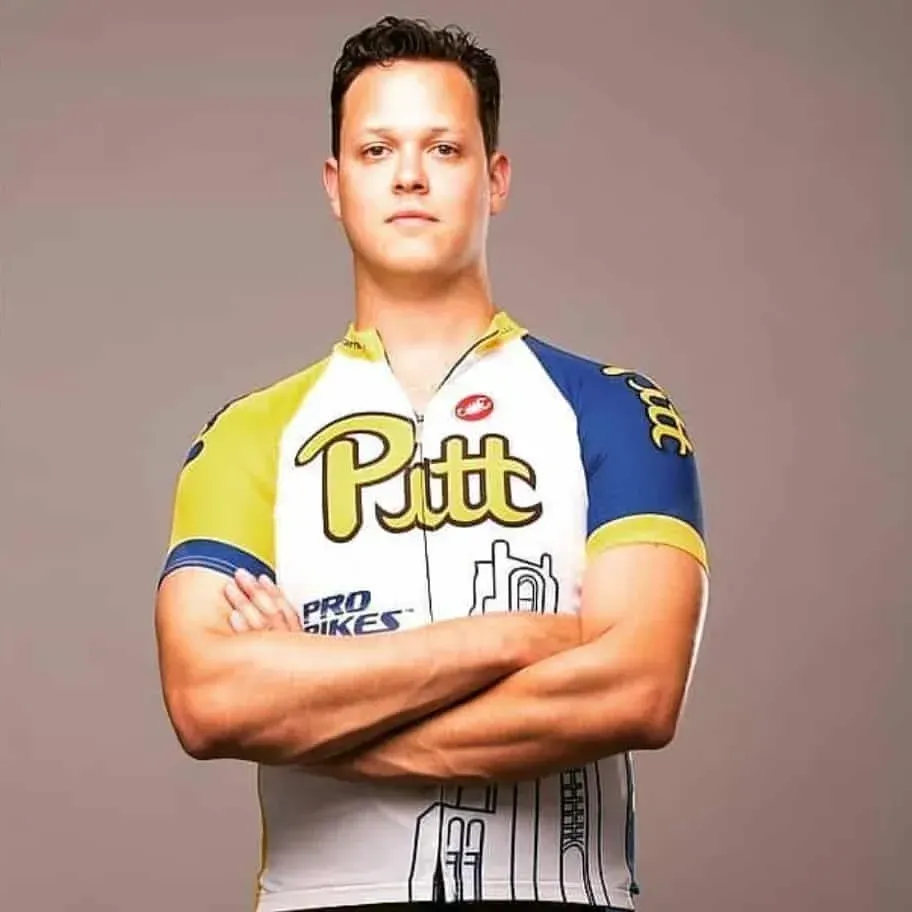
Andrew Seitz – Professional Cyclist
"With Brodie’s coaching, I went from Cat 5 to Cat 1 in four years while staying healthy and injury-free. He built me into a whole athlete."
SUCCESS STORIES
★★★★★
Joshua Spokes – Cyclist
"In just two years I went from stuck at Cat 4 to major gains in strength and performance. Brodie supported me every step of the way—physically and mentally."
★★★★★
Jim B. – Senior Games Competitor
"In just four months, HVT turned me from a novice into a competitive cyclist. I owe my once-in-a-lifetime race experience to their coaching."
★★★★★
Andrew Seitz – Professional Cyclist
"With Brodie’s coaching, I went from Cat 5 to Cat 1 in four years while staying healthy and injury-free. He built me into a whole athlete."
STRUGGLING WITH RESULTS?
Traditional strength training isn’t built for cyclists and triathletes.
At HVT, we combine 25+ years of experience in strength, performance, and endurance coaching to design programs that fit your sport — and deliver results where they matter most: on the bike and in competition.
1
BOOK YOUR INTRO
CALL
We’ll talk about your training history, goals, and challenges.
2
GET A CUSTOM PROGRAM
Tailored to your sport, schedule, and current level of fitness.
3
SEE RESULTS ON THE ROAD OR COURSE
We’ll talk about your training history, goals, and challenges.
Trusted by Cyclists Worldwide Since 2008
From first charity rides to national championships, Human Vortex Training has helped cyclists over 40 and 50 ride stronger, recover faster, and stay pain-free. With proven strength training and smarter coaching, you’ll get the results that endless miles alone can’t deliver. Start with your free 7-day trial and see the difference.
Everything You Need to Know About
Human Vortex Training — All in One Place
Discover who we are, what we do, and how we help cyclists over 40 and 50 ride stronger, recover faster, and stay pain-free. Inside this free info packet, you’ll learn how our proven system blends cycling science, strength training, and real-world coaching to help you keep riding at your best.
About Us
Human Vortex Training helps cyclists and triathletes train smarter, ride stronger, and recover faster. With over 25 years of experience in strength, performance, and endurance coaching, we’ve guided athletes worldwide to break plateaus and enjoy the sport they love for life.